In this article, you’ll learn how to apply paint protection film in a professional manner. This article covers methods involving both installation gel and slip solution, and you can choose the method that best suits your needs. It’s important to follow all of these instructions carefully for a high-quality end product.
General Tips for Applying Paint Protection Film
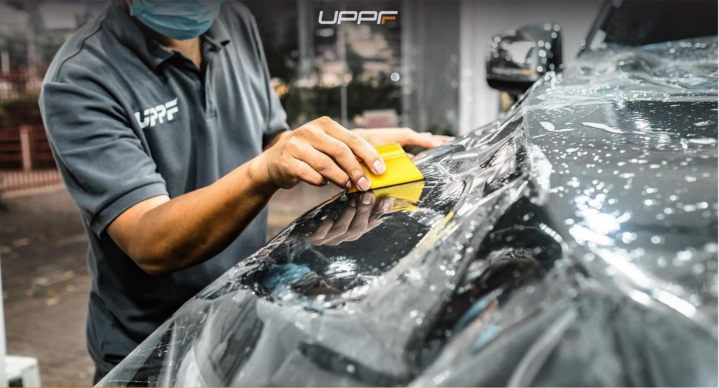
When working with Paint Protection Film, there are few important things that you need to keep in mind. Follow these general tips, and you can avoid a number of common mistakes:
Always make sure that your work environment is completely dust-free when working with PPF
Make sure that your cutter blades are sharp. Ideally, you should work with brand new cutting blades when cutting excess PPF, as this will result in clean, professional lines with minimal cutting effort
If you choose the installation gel method, make sure that you don’t let the gel dry during the installation process. It’s best to work as quickly as possible and squeeze out as much gel as you can with the squeegee over a short period of time
Never apply paint protection film on a surface that has been repainted, or surfaces with added coatings such as Teflon, wax, or ceramics
Store your PPF film in a cool, dry place. Make sure that you don’t take out your PPF until you’re ready to use it, as direct exposure to air can degrade the quality of the film over time
Working With Installation Gel
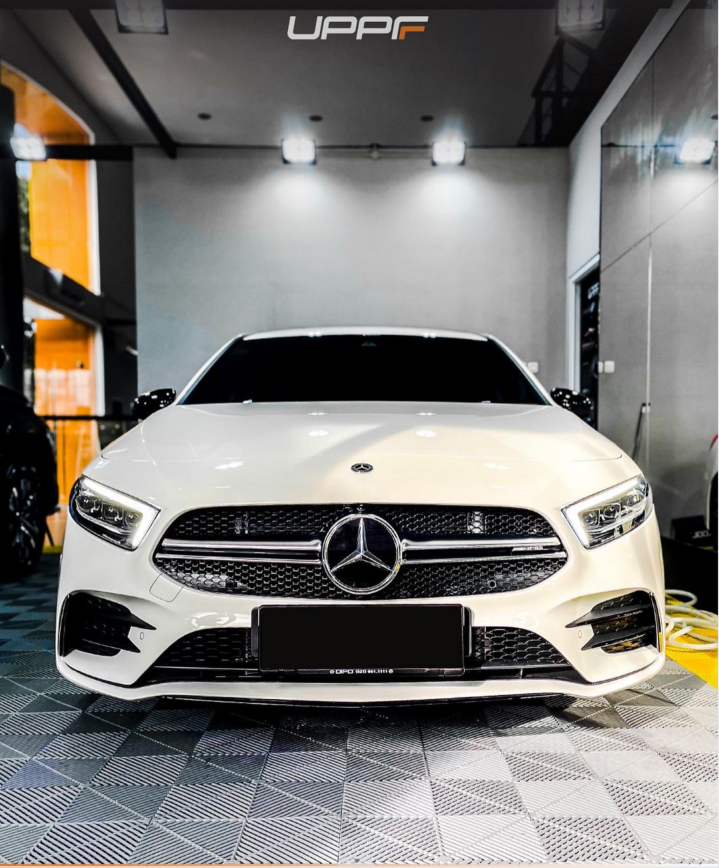
You can use installation gel to make life easier when installing paint protection film. There are a number of important benefits to using installation gel:
After applying a layer of installation gel, it becomes easier to reposition your paint protection film and make sure everything is lined up perfectly. This is because the gel causes the film to “float” on the installation surface
Applying a layer of installation gel on the vehicle surface reduces the chance of entrapment and lift lines underneath the paint protection film
When you use installation gel, you can also reduce the amount of slip solution for a smoother installation
Applying installation gel is very straightforward and it takes a few minutes
Cleaning excess installation gel from the paint protection gel is also very easy, and you can remove it quickly for a clean final product.
Tips for Applying Installation Gel
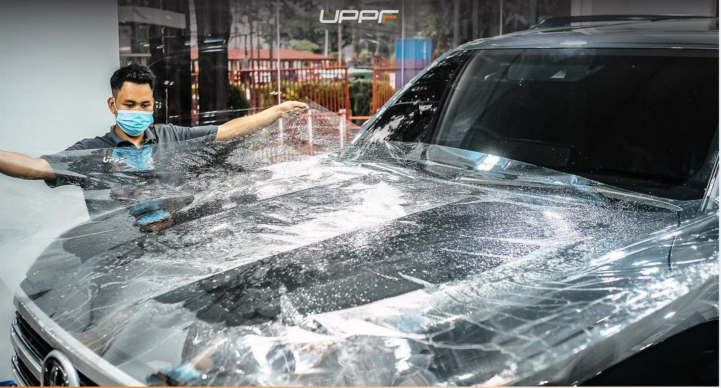
When applying the installation gel, there are a number of things you need to keep in mind:
When applying installation gel, always make sure that the vehicle’s surface and the air around it is between 20-30 degrees Celsius
Make sure the vehicle and the surrounding area are completely free of dust when applying installation gel
If you can, work in the shade. Direct sunlight can be an issue when applying installation gel.
Preparing the Surface for Paint Protection Film
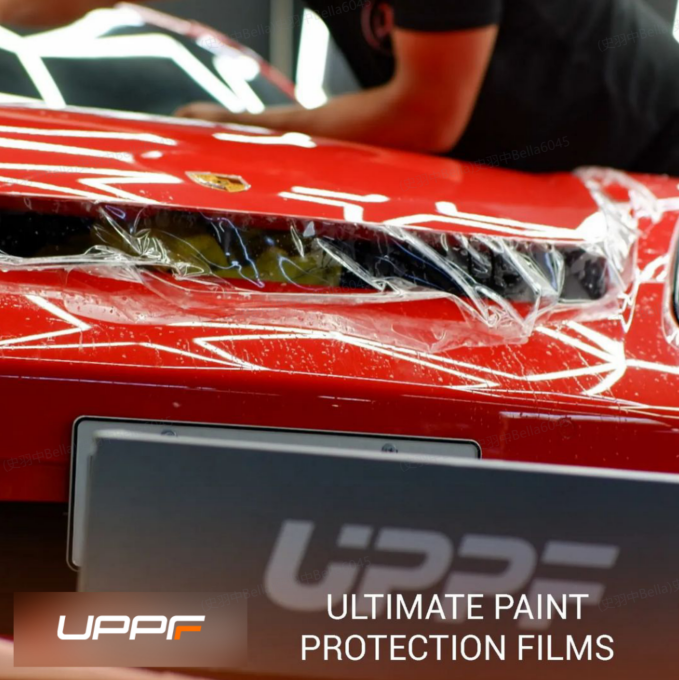
Prepping the surface before you apply your film is crucial. This prep stage essentially remains the same regardless of whether you’re working with slip solution or installation gel. Here’s what you need to do:
Wash Your Hands: The first step for any window tinting professional is always the same – wash your hands. Remember, this job involves working with your hands, and in many situations, you’re touching the vehicle surface directly with your fingers. Washing your hands reduces the chance of leaving fingerprints and oily marks on the vehicle surface.
Remove Stains: Using water spray and a cleaning pad, remove as many stains as you can find on the vehicle surface. Look for oil marks, dead insects, dust, or anything else that might get in the way when you apply your film.
Do A Final Wipe Down: When you’re sure you’ve removed as many blemishes and stains as possible, spray the surface once again with water and wipe everything down. Finally, wipe the surface until dry with a soft cloth.
METHOD 1: Applying the Paint Protection Film With Installation Gel
After you’ve prepped your surface, you’re ready to apply the paint protection film with installation gel. Carefully follow these steps:
Cut The Film: Measure the area you’re covering with film, and then cut the correct amount of film, giving yourself a little extra film around the edges to work with.
Prepare the Installation Gel: Shake your bottle of installation gel for at least two minutes, then soak your hands in the installation gel.
Spray the PET Protection Side: Find the side of the paint protection film that has the PET Protection feature. Completely spray this side with installation gel.
Spray the Self-Healing Side: After carefully removing the film, spray the exposed self-healing side of the paint protection film with the installation gel.
Spray the Entire Surface: Move on to the vehicle surface and completely spray it with installation gel. Make sure that every inch that you wish to cover with PPF is soaked in a layer of installation gel.
Spray the Liner Film Side: Give the liner film side of the PPF a spray down with installation gel.
Spray the Adhesive Side: Remove the liner film side of the PPF and spray the now-exposed adhesive side of the film with installation gel.
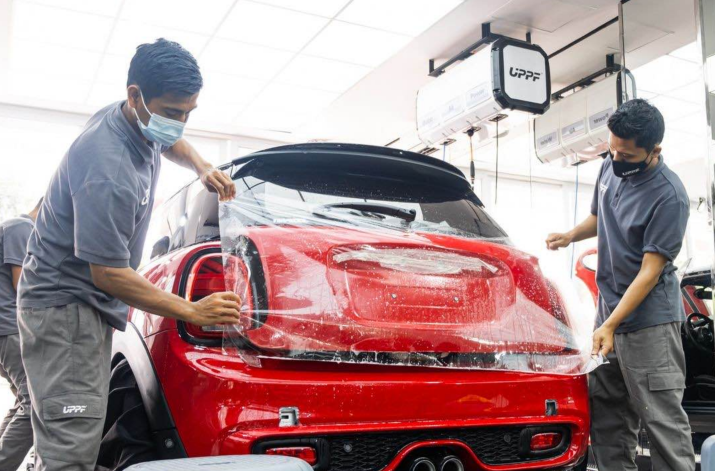
Apply the Paint Protection Film: With all surfaces sprayed with installation gel, you’re ready to apply the film to the vehicle surface. During this step, make sure that your film is positioned correctly.
Squeegee Out The Gel: Using a squeegee, carefully scrape and push out the installation gel from under the PPF layer. Continue squeegeeing until all of the gel is completely removed from the installation area.
Remove Excess Film: There will be a bit of excess film around the edges. Carefully cut away the excess PPF, leaving a clean line behind.
Do a Final Clean: With almost all of the gel gone, you can do a final clean with water and a soft cloth. Look for any signs of leftover installation gel and remove it immediately.
Leave the Surface to Dry: It’s important to give the surface enough time to dry and set in place. You must instruct your customers not to wash the car with water for at least 3 days in summer, and at least 7 days in winter.
Working with Soap Solution
An alternative method for applying paint protection film involves using a soap solution. This method can be especially advantageous when working with curved surfaces, as it helps you avoid stretch marks and other related issues.
Tips for Using Soap Solution
For best results, use a two-solution application method when working with paint protection film. This two-stage approach consists of a slip solution and a tack solution. For the slip solution, use a combination of water and soap. For the tack solution, use a combination of water and isopropyl alcohol.
We recommend mixing two drops of Johnson’s Baby Shampoo into a 1000 mL bottle for your slip solution.
For your tack solution, we recommend filling a 500 mL bottle with 85% water and 15% isopropyl alcohol.
METHOD 2: Applying the Paint Protection Film With Soap Solution
Before starting, refer back to the “prepping the surface” section for guidance on how to prepare the surface prior to film application. When you’ve cleaned the vehicle surface, here’s what to do next:
Cut Your Film: Cut out the area of PPF you want to work with, leaving a little extra film on the sides to work with.
Prepare The Slip Solution: Shake your slip solution bottle vigorously before the next step and coat your hands in the slip solution.
Spray The PET Protection Side: Find the PET Protection side of your film and spray it down with your slip solution.
Spray The Self-Healing Side: Remove the protection film and spray down the exposed self-healing side with slip solution.
Spray The Vehicle Surface: Spray your vehicle surface with slip solution. Ensure that every part of the vehicle you want to cover with film is adequately soaked with slip solution.
Spray The Liner Side: Spray the liner side of the PPF with slip solution.
Spray The Adhesive Side: Remove the liner side and spray the adhesive side of the PPF with a generous coating of slip solution.
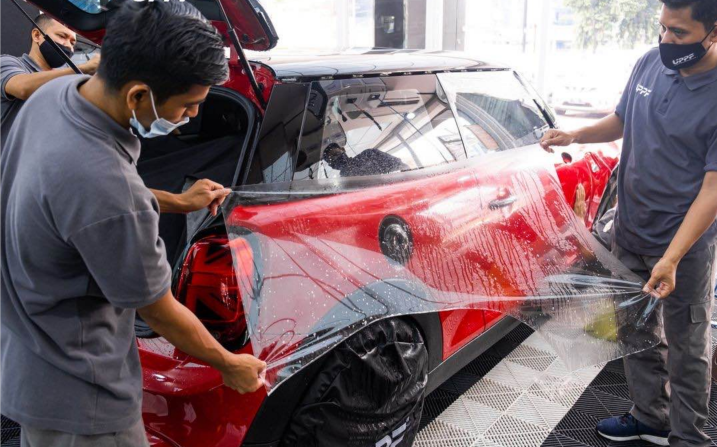
Apply The Paint Protection Film: Now that you’ve sprayed down all surfaces with slip solution, you’re ready to apply the PPF to the vehicle surface. Make sure that the PPF is positioned correctly before moving on to the next step, because repositioning the film becomes extremely difficult after the next few stages have been completed.
Squeegee The Surface: Using a squeegee, carefully push out the slip solution from underneath the PPF layer. Remember to use overlapping strokes with the squeegee to remove as much slip solution as possible. You also need to remove and deal with any air pockets during this stage.
Stretch The Film: If you’re dealing with curved surfaces, now’s the time to stretch your film for a good fit. You can pull and stretch the film without any heat application, as this UPPF PPF has a level of flexibility that naturally conforms to curved surfaces. Before stretching the film, gently lift the film and apply your alcohol tack solution to the center of the adhesive side. This removes the underlying slip solution and softens the adhesive to accelerate the bonding process.
Keep Adhesive Wet: During the stretching process, keep the adhesive wet at all times to allow for repositioning and the reduction of stop lines. Make sure not to overstretch, as this can cause stretch marks – especially after the curing process is complete.
Cut Excess Film: Cut away the excess PPF at the edges, leaving behind a clean line.
Clean The Surface: Wash down the vehicle surface with water and give it a final wipe with a soft cloth. Make sure all excess slip solution is removed.
Leave The Surface To Dry: As with the installation gel method, instruct customers to refrain from washing their car with water for at least 3 days in the summer, and 7 days in the winter.
ATTENTION: There is a slight chance that bubbles may appear between the PPF and the vehicle surface. If this happens, wait until the curing process is complete. In the vast majority of cases, these bubbles will disappear as the curing process progresses. Avoid touching and adjusting the PPF during the curing process at all costs.
Working With Sealant Solution
Applying Sealant Solution is an excellent final step to provide your PPF with even more resiliency and long-lasting wear. Sealant Solution is activated on a molecular level when exposed to UV rays, and it protects the PPF against pollutants, tar, insects, pollen, acid rain, and many other environmental factors.
Without the addition of sealant solution, PPF can become discolored over time because the pores in the membrane become clogged with these pollutants and natural particles. The film can also become discolored if you attempt to use different types of sealants, polishes, and cleaners that haven’t been approved for use with this particular PPF.

Applying the Sealant Solution
When applying the sealant solution, it’s important to closely follow these steps:
Remove Dust: Take a damp cloth and dust the entire PPF surface to remove all dust particles.
Wipe PPF: Using a dry cloth, wipe the entire PPF surface to finish the preparation stage.
Prepare the Sealant: Vigorously shake the sealant bottle before use.
Apply the Sealant: Spray the sealant across the entire surface, going over the surface three times with separate layers of sealant. Spread the sealant across the PPF with a dry cloth.
Let The Sealant Dry: Within 5 minutes, the PPF surface should be visibly smoother. To test whether the sealant has finished drying, touch it with your finger and test the smoothness.
Reapply When Necessary: For best results, it’s necessary to reapply the sealant whenever the car is washed. Inform your customers of this so that you can reapply the sealant for them after they wash their car.
Tips for Paint Protection Film Maintenance
To ensure the longevity of your paint protection film, there are a number of maintenance tips that can help. Regular maintenance and care can keep cars looking better for longer periods of time.
Pay special attention to the edges of the film and quickly wipe away any dirt buildup using a microfiber cloth.
Watch out for dead insects, tree sap, and other potentially corrosive materials that have become embedded in the pores of the PPF. Remove these contaminants as soon as possible to prevent permanent damage.
Do not use cleaning materials that can damage the PPF, such as rough sponges, powder-based cleaners, paper towels, power buffers, or high-pressure water hoses.
Avoid pressing too hard when cleaning your PPF. Very little friction is needed to achieve adequate results.
